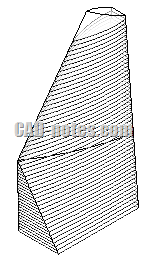
Creating Revit Elements by Face
We have created a conceptual mass with Revit. Now after we can show the project owner how the building will looks like, show the mass schedule, how can we finish the Revit building model? How can we convert the mass to building elements?

It is very simple. You can do it in few minutes to convert the faces to building elements in Revit, such as walls, roofs, floors, and curtain wall. Adaptive components are more advanced, but it’s a different coverage.
In Revit ribbon, open the massing & site tab. Find model by face panel.

You can see four Revit tools to convert the mass faces. Let us try it.
Creating Floors
First, we are going to create floor. Click floor tool to activate it. Now you need to select the floor face. Just drag a window to include all faces. Don’t worry, it will not select faces except for the floor faces.
After we have selected them, click create floor.

Now examine your Revit model. You should see the floors now. Quick and easy, right?

Creating Roof
Now try the roof tool. It is exactly the same with floor tool. But remember, this time you only select the roof face. Not all faces.

Wall is a bit different. You don’t need to click create wall to make it. After you click the mass face, the wall is created immediately.
Before you continue to have fun, let us see the properties palette. After you activate create wall, the properties palette is now showing wall properties. You may change the wall type, location line and other properties.

However, you only can use basic wall type with this tool.
Creating Curtain Wall
Now let us finish our Revit model by adding curtain wall. Curtain wall tool also require you to click create system. Curtain wall is quite a complex element. You should try to create it at one face at a time. If you don’t have a powerful machine, it may crash if you select multiple faces at once.
Here is my finished building shell.

article source : http://www.cad-notes.com/creating-revit-elements-by-face/
Aucun commentaire:
Enregistrer un commentaire